Jeroen's Project Journals
Gridfinity Creator
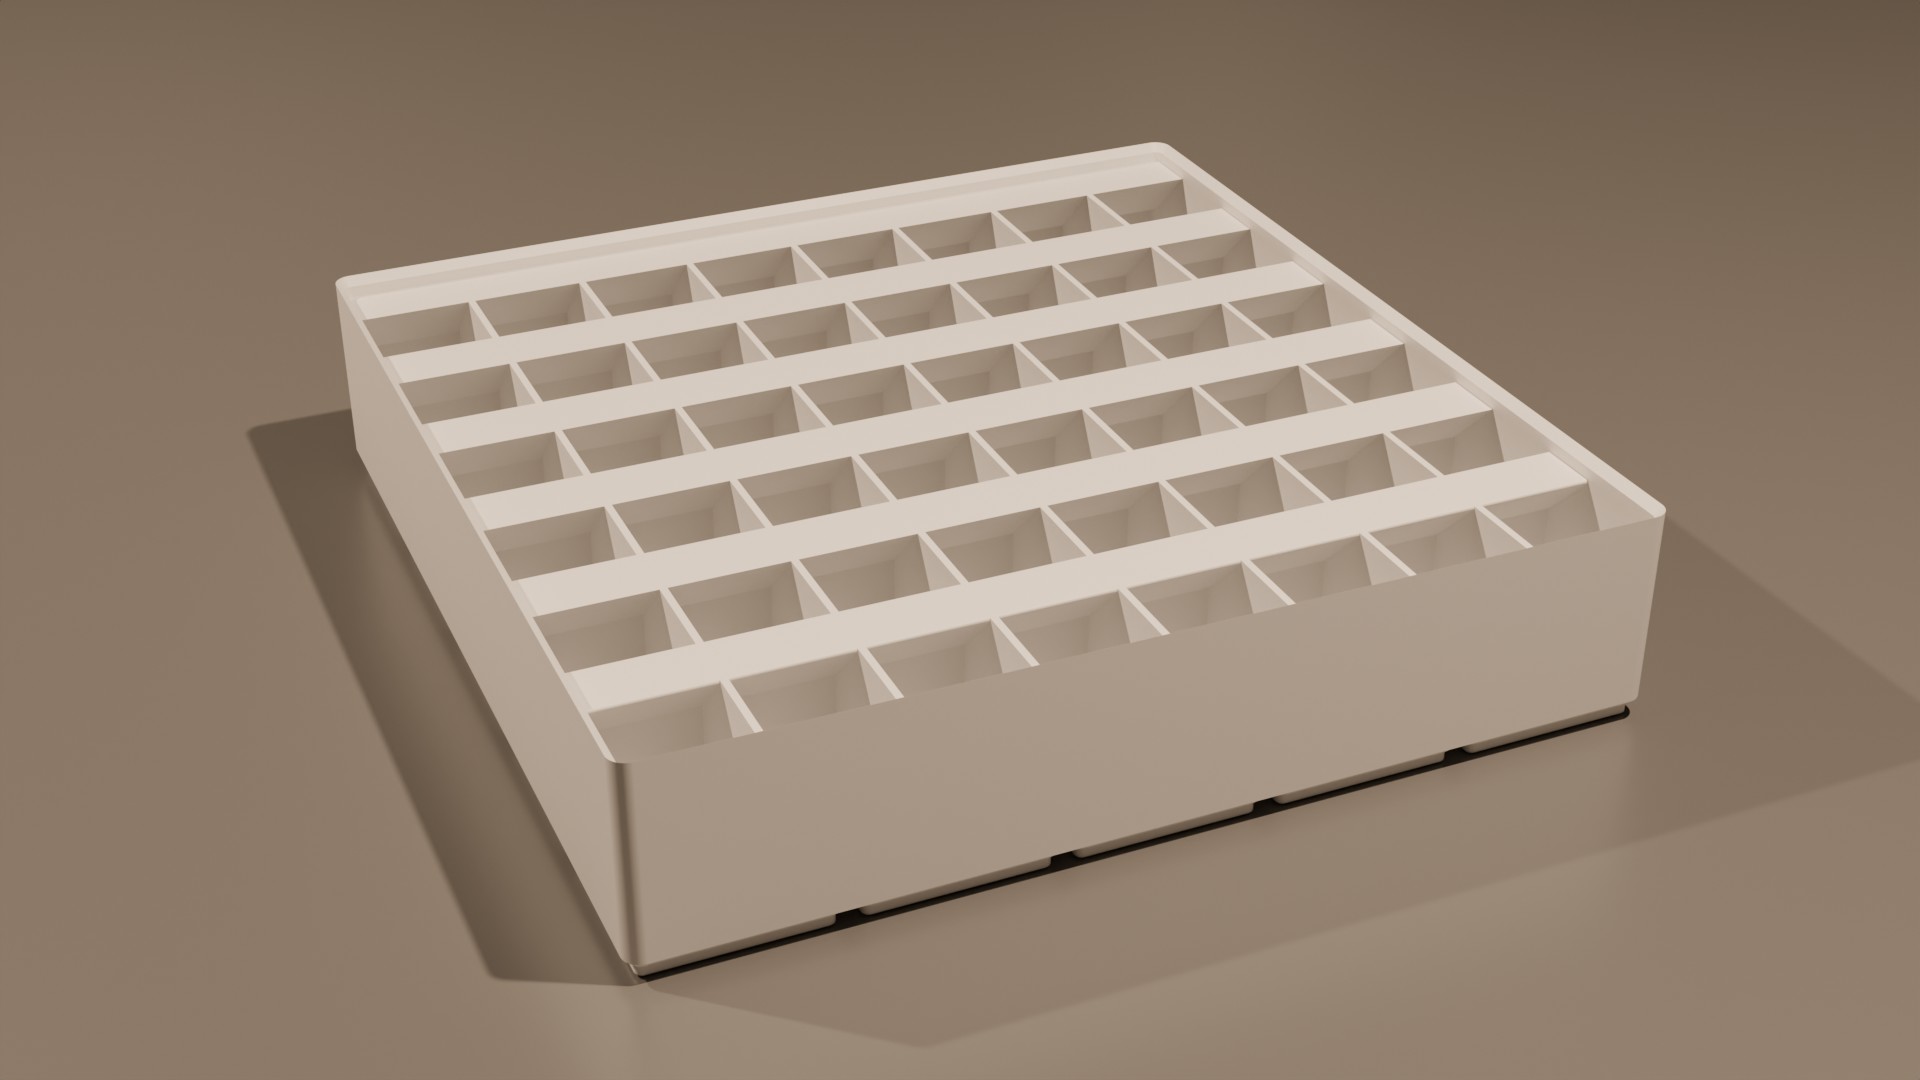
Online generator of Gridfinity components such as divider bins of any size with arbitrary internal compartments, light bins and base-plates. Generates STL files.
- Gallery
Design details
2024-01-15
This is a short description of the design of Gridfinity Creator. It doesn’t follow any specific format or method, it’s just a free-format overview of the interesting bits
Libraries and Frameworks
Flask
The application is written using Flask, which is a web-application framework for Python. It lets you map URLs to functions, so for example:
    # Handle POST and GET requests for "/"
    @app.route('/', methods=['GET', 'POST'])
    def index():
        return "<html><head><title>Title</title></head><body>Hello Flask!</body>"
This means any GET or POST request for the root (so just plain “www.yoursite.com”) will call this function and return the result to the user’s browser.
Flask uses the Jinja template engine, which I have used in the past and which is pretty cool too.
Bootstrap
Bootstrap is a web frontend toolkit. It saves you from all the nitty-gritty details that go into making a site that works across browsers, OS’s, screen-sizes, resolutions, dark/light modes etc. For me, the main benefit is that there are some really cool Bootstrap themes available from bootswatch. For Gridfinity Creator I chose the Flatly theme.
WTForms
WTForms is a form validation and rendering library for Python. It lets you define a form in code, which you can then render as HTML. When the form gets submitted (via a POST request) the result in Python is a form object you can query to get at the values filled in by the user.
CadQuery
The heavy lifting of the STL generation is done using CadQuery. I had been looking for a Python-based alternative to OpenSCAD, and this seemed to be the main contender. After using it in this project I have to say … ehm … wow. I get the idea, and I got it working in the end, but it took a LOT of reading and re-reading the documentation and even then I often found myself resorting to trial and error until I had something that looked right. I’ll probably use it again, since it seems to be pretty much the only game in town (not surprising, given how much work such a project takes), and it does work, but there’s definitely a steep learning curve. Much of this has to do with how you tell the system which edge or face you mean. In a 3D CAD package you simply point at it and click, but in code you can’t do this. How to select exactly the right edge to chamfer, and nothing else, was sometimes a vexing problem.
The entire application runs in a miniconda docker container that has cadquery installed via conda-forge. I used this guide to set this up.
Generators
The main design feature that is anything special is the way it handles object generators. On startup, the application scans the folder assigned to contain the generators. Each generator is contained in a subdirectory, and must contain a main.py. If this is the case, I use some importlib shenanigans (which I could never have come up with myself. StackOverflow FTW!) to load the generator as a module. Each generator must implements 3 functions: get_form, handles and process, which have the following purpose:
- get_form(): Returns an instance of a form object that contains all the settings needed for this generator. This object can be rendered to HTML by the application for presentation to the user or populated with the filled in values.
- handles(request, form): This checks if the provided request is intended for handling by this generator. This is done by checking the ID of the form, which is unique to each object generator.
- process(form): This is where the generation happens. The values submitted by the user are read, sanity checked and an STL file is written to a tmpfs in RAM.
The upshot of all this is that adding a generator for a new object type is very easy. All that I need to do is create a new subdir in the generators location and make sure there is a main.py implementing the 3 functions above and an empty __init__.py present. The application will automatically pick up the new generator and everything will just work.